Big declutters stall because they ask for a free Saturday and a skip, and you just never get around to it even with your best intentions. This challenge is different: you will spend a few minutes each day on one clear task that creates space you can see straight away. Short tasks are much easier to start than big daunting ones.
Across thirty days we will reset kitchens, bedrooms, bathrooms, living areas and paperwork, plus the random spots that always collect clutter. Each day is short, practical and landlord-friendly. Keep a donate bag by the door and a small tool kit to hand so you can act on decisions instantly.
Work in Short, Focused Sprints
Days 1 to 6: Kitchen and Entry
Start where daily mess begins: the kitchen. Clear surfaces, set simple homes for things and make the doorway area stress free.
Day 1: Clear the Kitchen Worktops
Move everything off, wipe, then only return the essentials like the kettle, coffee kit and one utensil pot. Collect oils and salt onto a small tray so cleaning stays quick; it's a simple change, but really helps wipe away those crumbs that seem to always appear in difficult places.
Day 2: Edit the Fridge Door and Top Shelves
Take everything out
Bin expired condiments and other foods
Wipe everything including the door seals
Then return everything in groups
You can group sauces in a clear container or area so nothing hides. Keep ready‑to‑eat items at eye level and raw food low.
Day 3: Tackle the Food Cupboard
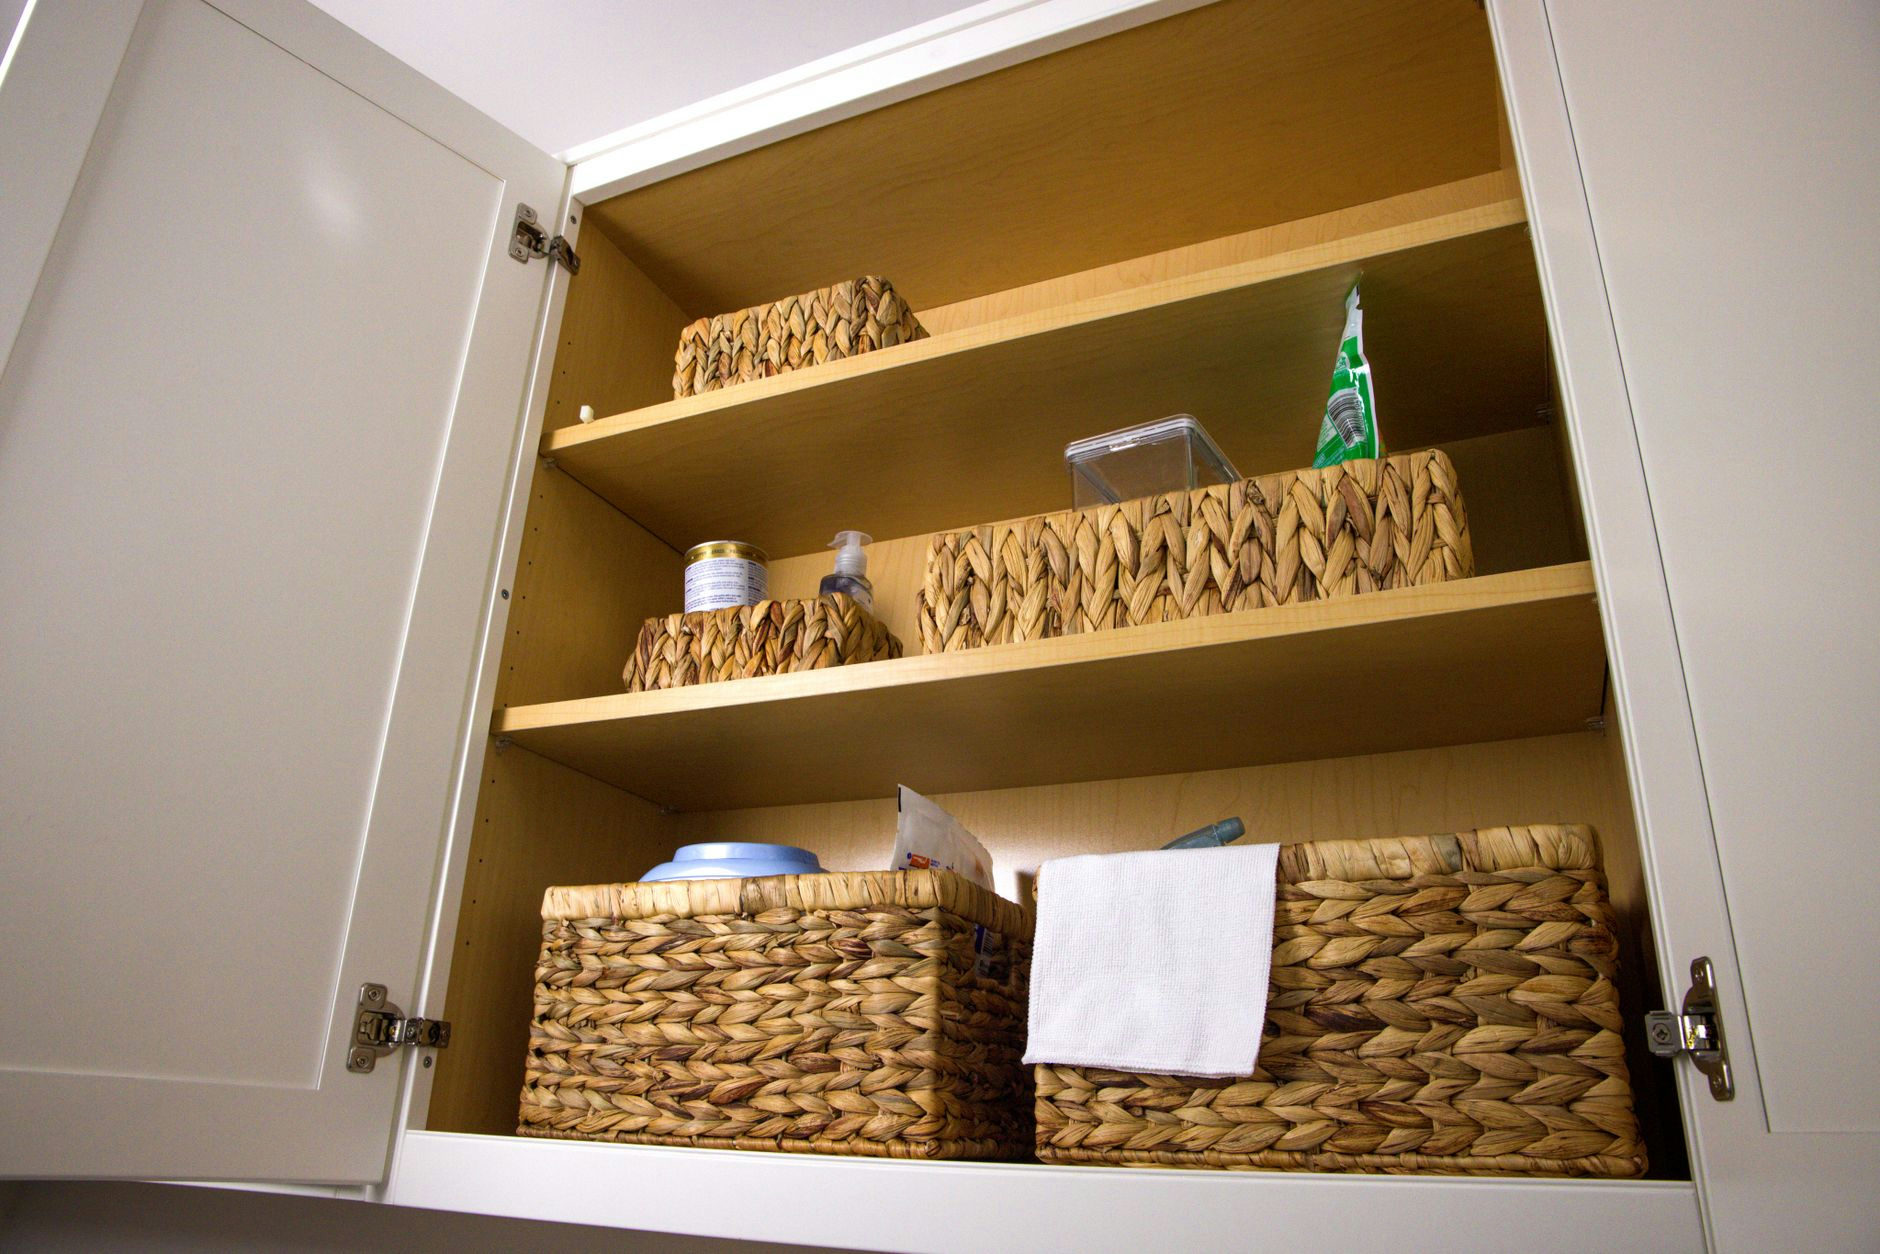
Pull everything out and group by type, then use shallow baskets so tins and grains do not get buried. Keep short items up front so you can see them.
ClutterCraft Recommended
Shallow Pantry Baskets
Day 4: Sort the Cutlery and Utensil Drawer
Lose duplicates and blunt tools, then add dividers so each item has a slot. Daily tools live at the front; gadgets go to the back or out.
Day 5: Reset the Sink Area
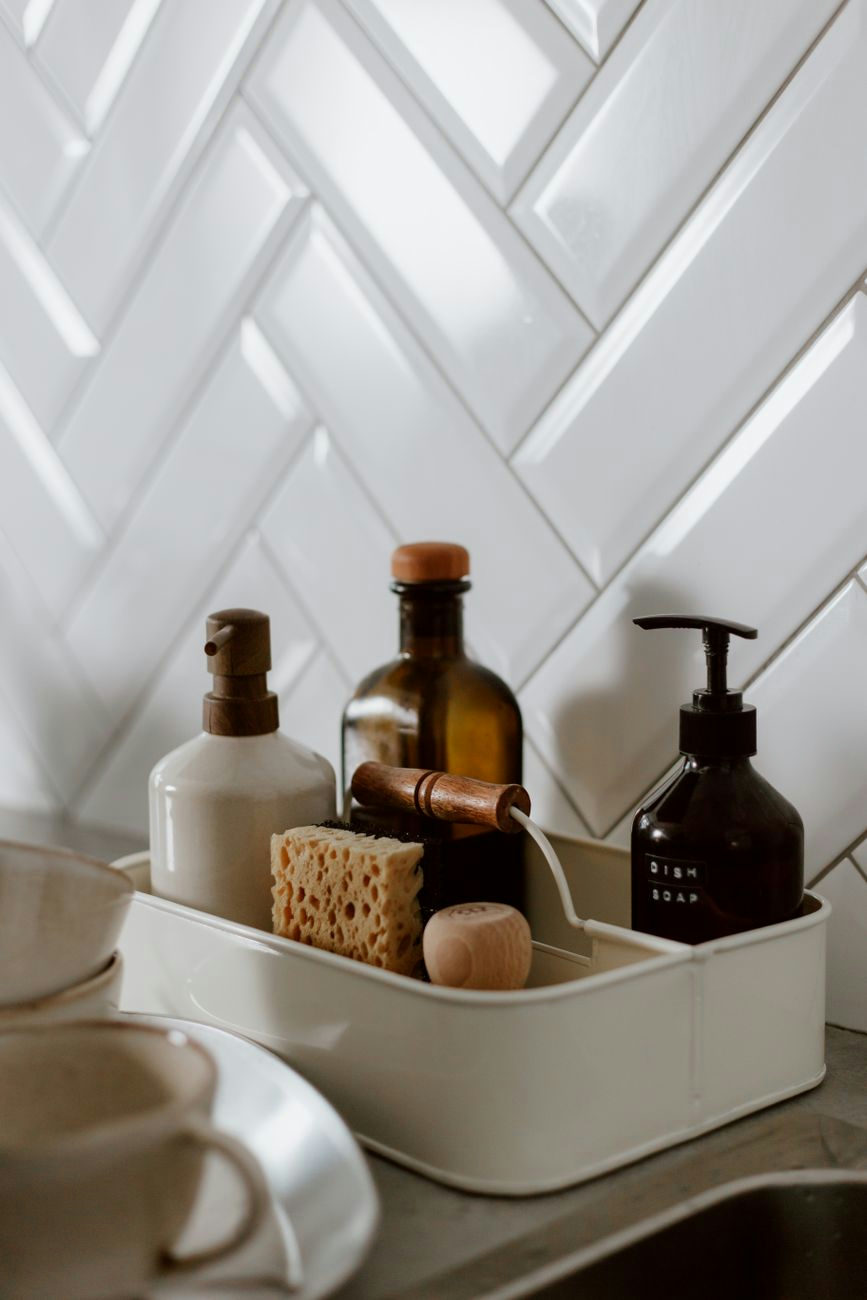
Decant washing‑up liquid into a pump, add a small caddy for brush and sponge, and store spare tablets out of sight. Hang one tea towel and call it done.
ClutterCraft Recommended
Sink Caddy
Day 6: Fix the Entry Drop Zone
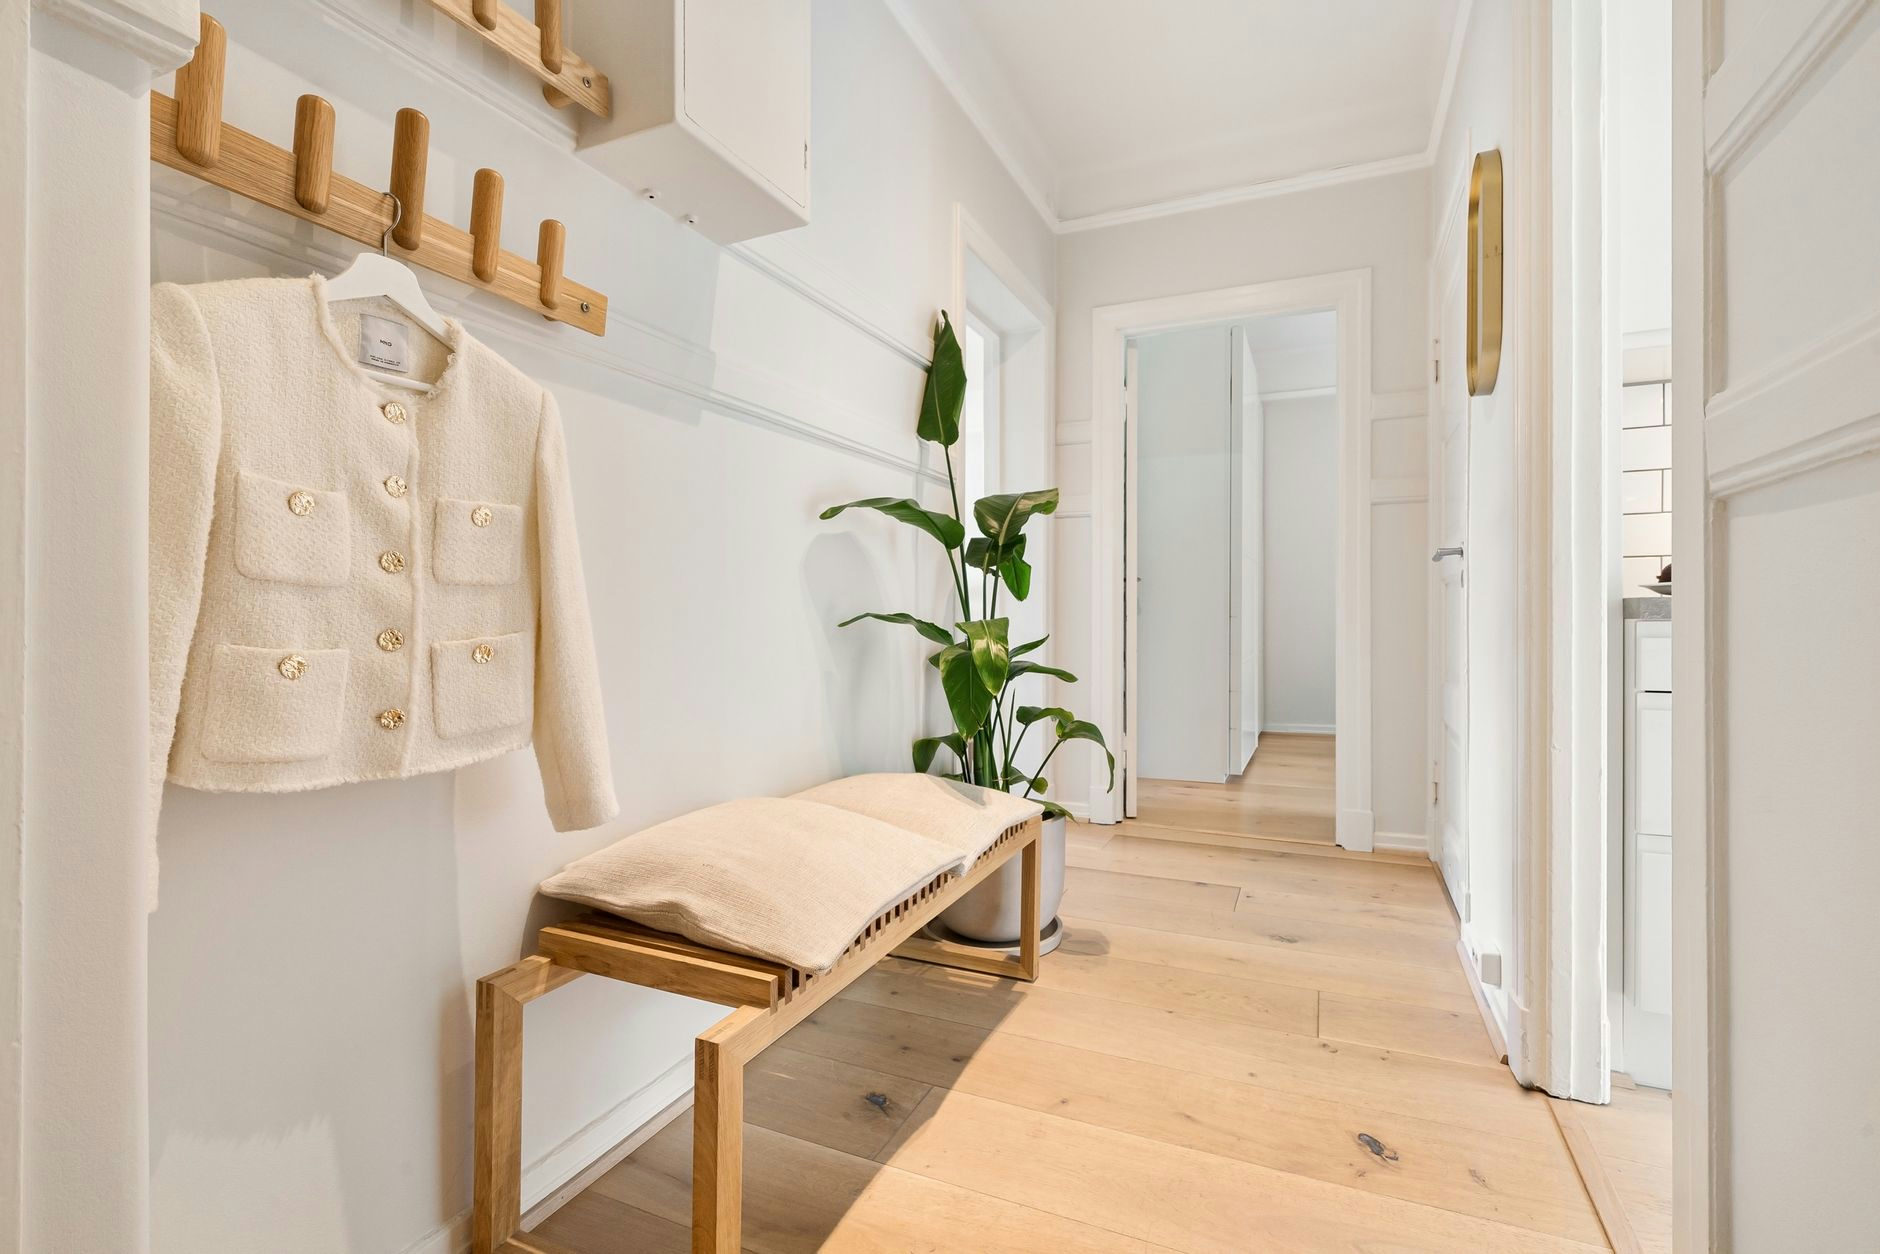
Collect together everything near your front door area, and only return items that you actually need - move the rest to storage elsewhere. You could mount a peg rail and slim shelf, add a tray for keys, and give each person one hook to keep things organised. Keep a basket for post and other temporary things by the door, making a mental note to keep it clear to avoid it building up.
Days 7 to 12: Bedroom and Wardrobe
Make the room restful by clearing surfaces, using under‑bed space and tightening the wardrobe layout.
Day 7: Under‑Bed Sweep
Vacuum, then load low lidded boxes with spare bedding and off‑season clothes, labels facing out. Keep daily shoes near the edge for quick grabs.
ClutterCraft Recommended
Under-bed storage containers
Day 8: Clear the Bedside
Keep a lamp, one book and a small lidded pot if useful to you; everything else goes in a drawer or box. Clip charging leads using adhesive clips so they stop sliding to the floor.
Day 9: Hanger Audit and Rail Reset
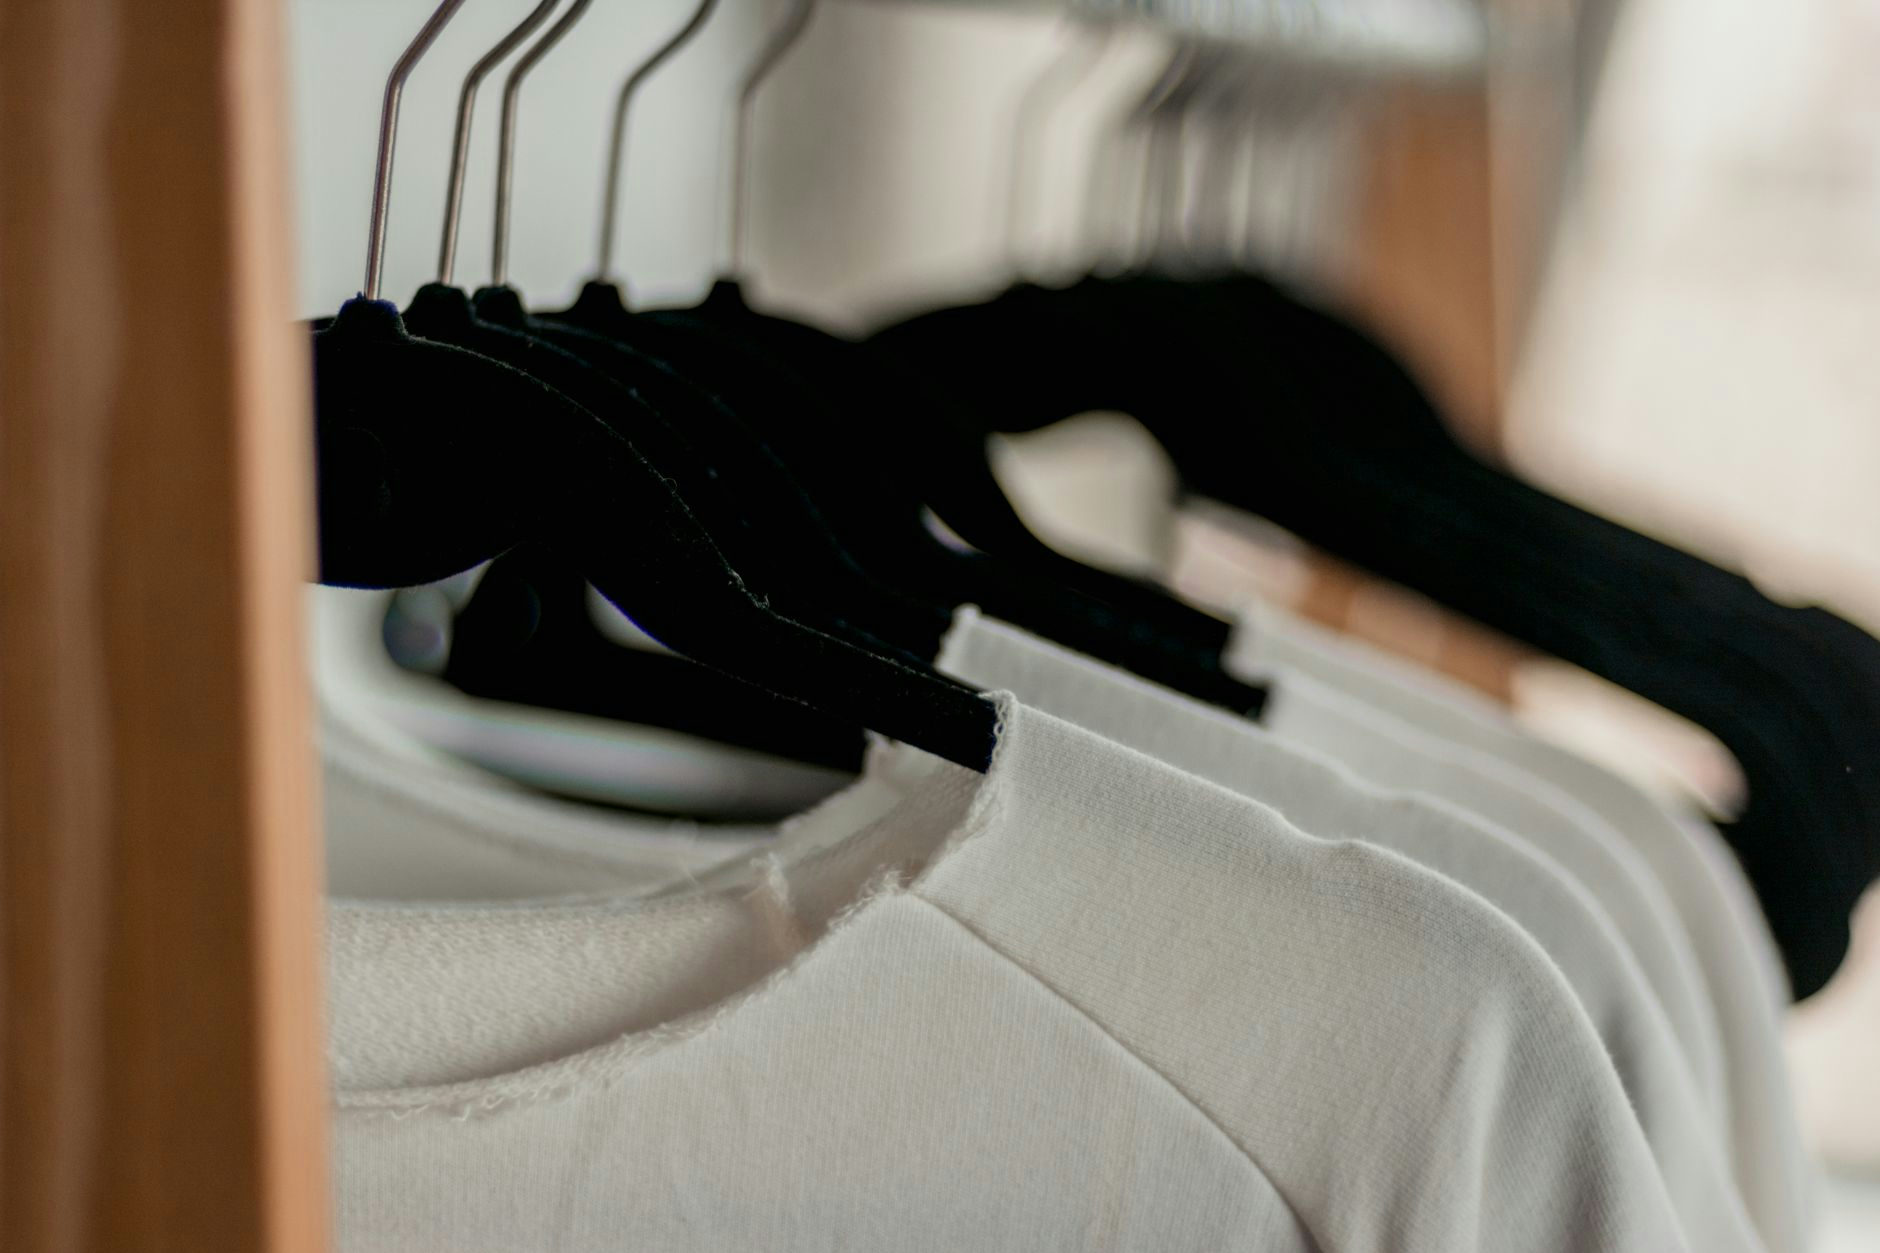
Swap bulky hangers for slim velvet ones and add a clip‑on second rail for shirts and skirts. Use shelf dividers so knit stacks do not collapse.
ClutterCraft Recommended
Slim Velvet Hangers
Day 10: Top of Wardrobe Boxes
Line up boxes that fit the shelf width and label the short sides. Park bulky but light items here so the rail can breathe.
Day 11: Sock and Pants Drawer
Tip it out, bin worn pairs and sort by type into small compartments. A simple organiser stops everything re‑mixing midweek.
Day 12: Back of Doors
Hang an over‑door rack for robes and bags, plus a pocket organiser inside the wardrobe for belts and scarves. Check doors still open cleanly.
Days 13 to 17: Bathroom and Laundry
Keep bottles off floors, make the cupboard work and set a laundry flow you can actually keep.
Day 13: Shower and Bath Products Edit
Recycle empties, keep one of each and park spares in a closed box. A rustproof caddy keeps bottles tidy and off the floor.
ClutterCraft Recommended
Rustproof Shower Caddy
Day 14: Under‑Sink Cupboard Sort
Use a two‑tier rack or slide‑out baskets to separate cleaners, cloths and bin liners. Keep only weekly‑use items within easy reach.
Day 15: Towels and Linen Shelf
Cull threadbare towels, then fold to match shelf width so stacks stand firm. Keep two sets per person and stash guests’ in a labelled bag.
Day 16: Loo Roll and Cleaning Tools
Store spare toilet rolls in a basket and hook a brush or squeegee inside a cupboard door. Keep one multipurpose spray near the loo.
Day 17: Laundry Routine Tweak
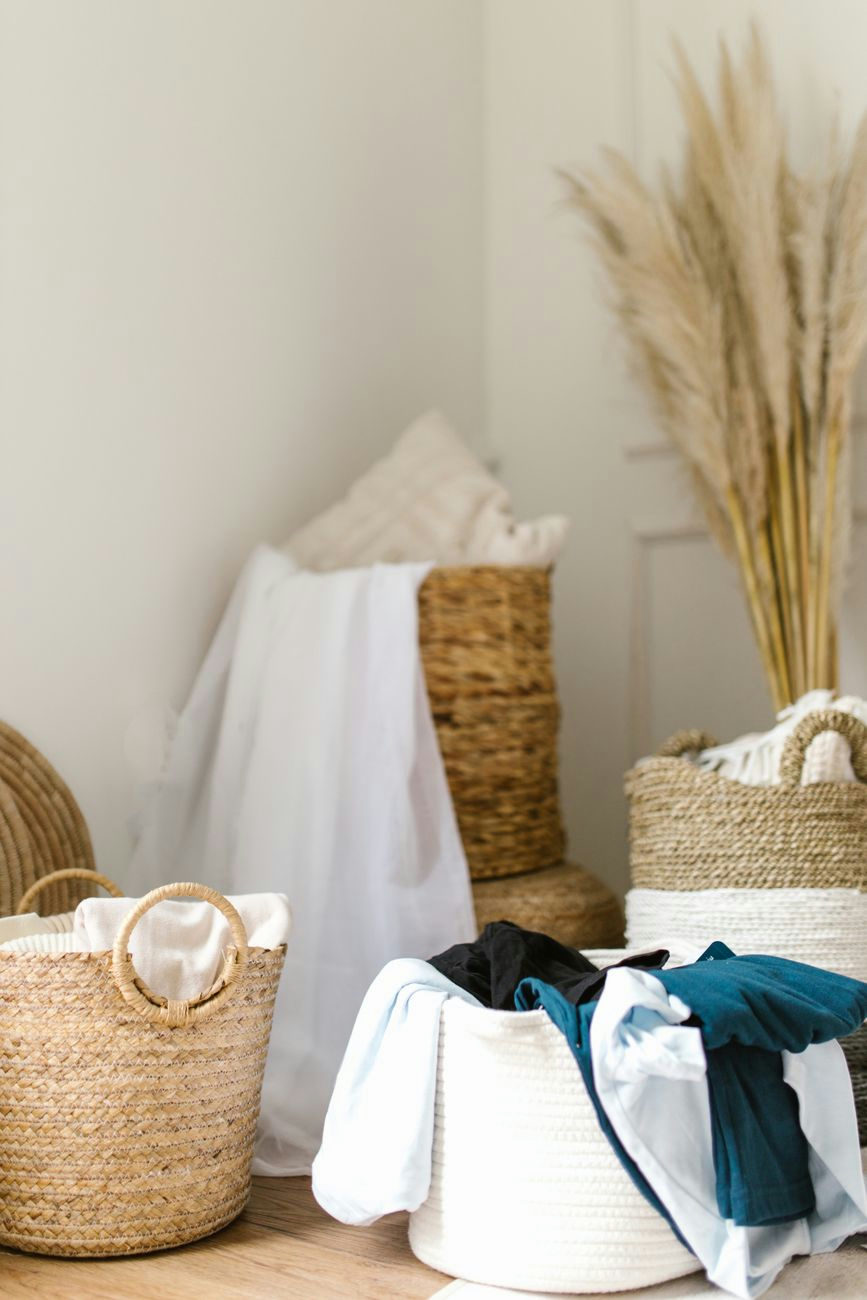
Use a divided hamper for lights and darks, or one small basket per person, then set a regular wash day. Place hampers where clothes actually land.
ClutterCraft Recommended
Divided Laundry Hamper
Days 18 to 23: Living Room and Paperwork
Contain surfaces and tech, then take control of books and paper so they stop creeping across the house.
Day 18: Coffee Table and Remote Tidy
Clear the surface, add a shallow tray and a lidded pot for remotes and batteries. Magazines live in one neat stack or go.
Day 19: Media Unit and Cables Conceal
Label and route leads through a cable box or stick‑on trunking, and hide routers behind a ventilated panel. Wrap spare controllers in a pouch.
Day 20: Toys or Hobby Kit Contained
Use two or three lidded crates under a bench or sofa, one category per bin. Add a photo label so everyone knows where things go.
Day 21: Bookcase Edit and Dust
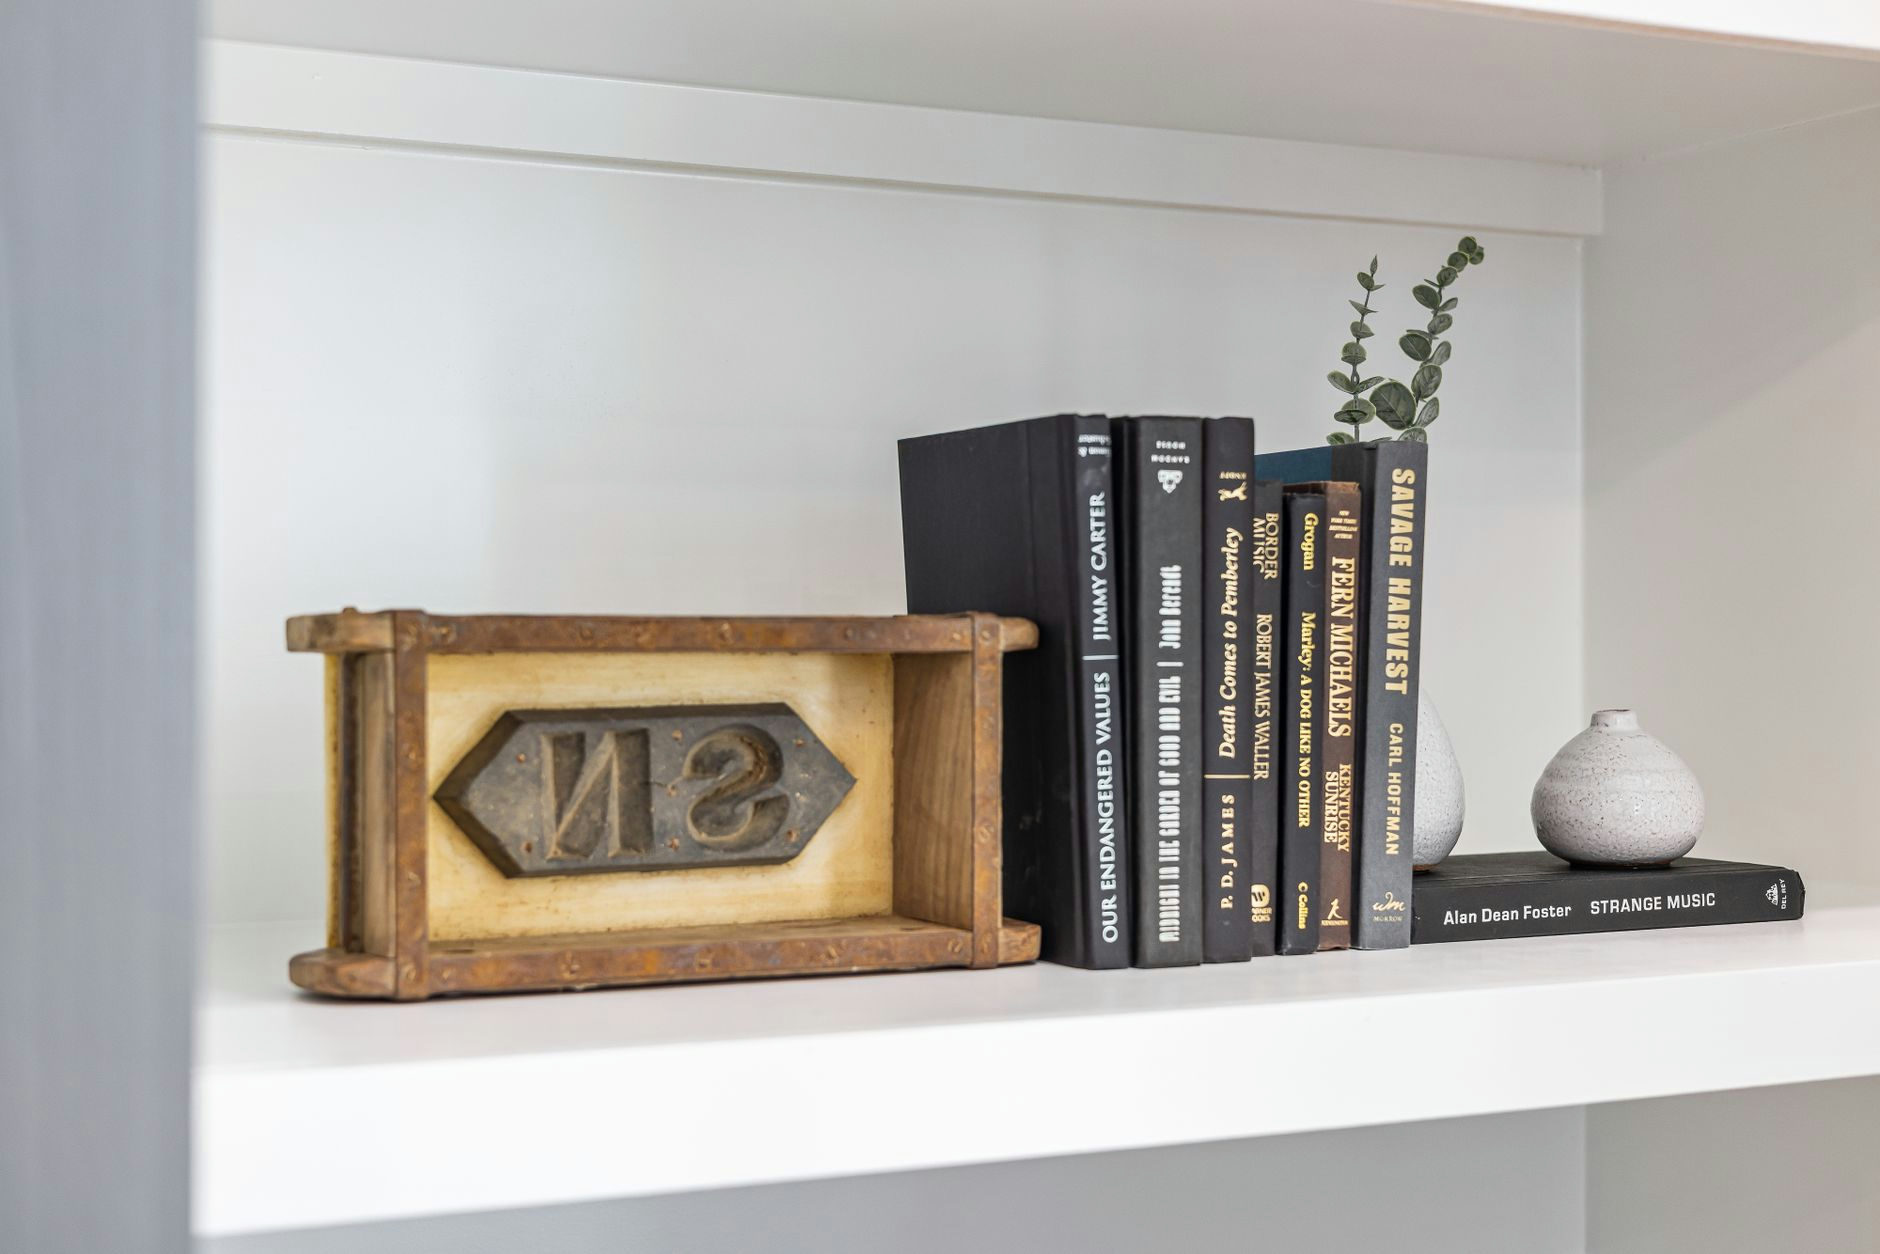
Tackle one shelf at a time: remove, dust, re‑shelve what you love and donate the rest. Keep heavy books low and leave small gaps for breathing space.
Day 22: Paper Pile Triage
Sort into in‑tray, action this week, and shred or recycle, then stop. Set a weekly date to clear the in‑tray.
ClutterCraft Recommended
Clear Stacking Letter Trays
Day 23: Create a Simple Command Centre
Mount a small calendar, pen pot and wall pocket near the kitchen, or fake it with a magnetic board on the fridge side. One clip for coupons or kids’ notes is enough.
Days 24 to 30: Final Wins and Reset
Tie up loose ends, label the hard‑won order and set habits so the house stays easy to keep.
Day 24: Junk Drawer Deep Edit
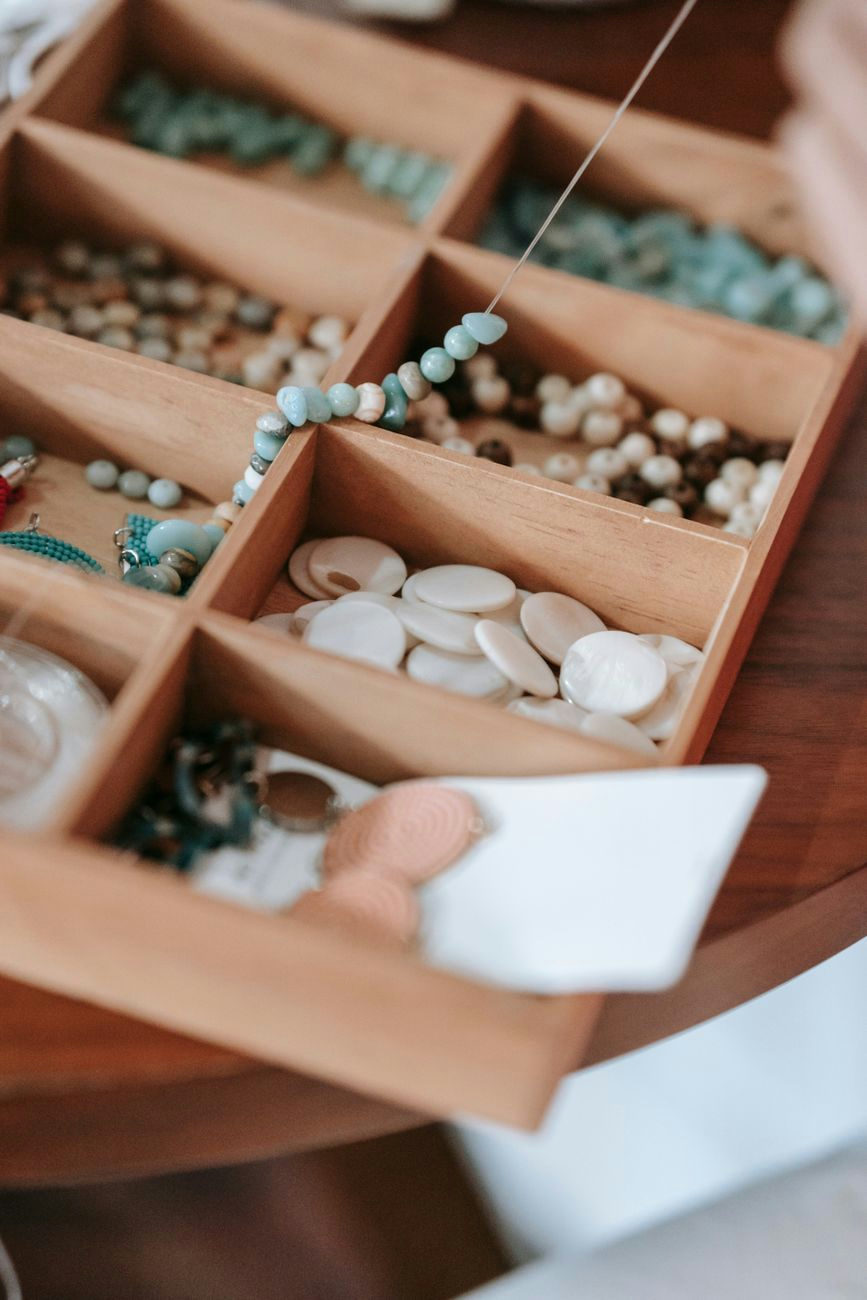
Empty it, bin the duds, then fit small trays for batteries, tools and odd keys. Keep tape, a pen and scissors at the front for quick grabs.
ClutterCraft Recommended
Interlocking Drawer Trays
Day 25: Label Key Zones
Label pantry bins, linen shelves and toy crates so anyone can reset a room in seconds. Use removable tags in rentals.
Day 26: Digital Declutter Sprint
Delete obvious photo duplicates, clear your desktop and set automatic backups. Unsubscribe from a handful of emails you never read.
Day 27: Bags and Car Boot Tidy
Empty handbags, rucksacks and the car boot, then repack with zip pouches for meds, wipes and leads. Keep a roll of reusable bags and spare bin liners in the boot.
Day 28: Spare Bedding and Guest Kit
Create a grab box with a sheet set, pillowcases and a compact toiletry kit, label it and store it on top of the wardrobe. Slip spare duvets into breathable bags.
ClutterCraft Recommended
Breathable Duvet Storage Bag
Day 29 & 30: Whole‑Home Reset and Routine
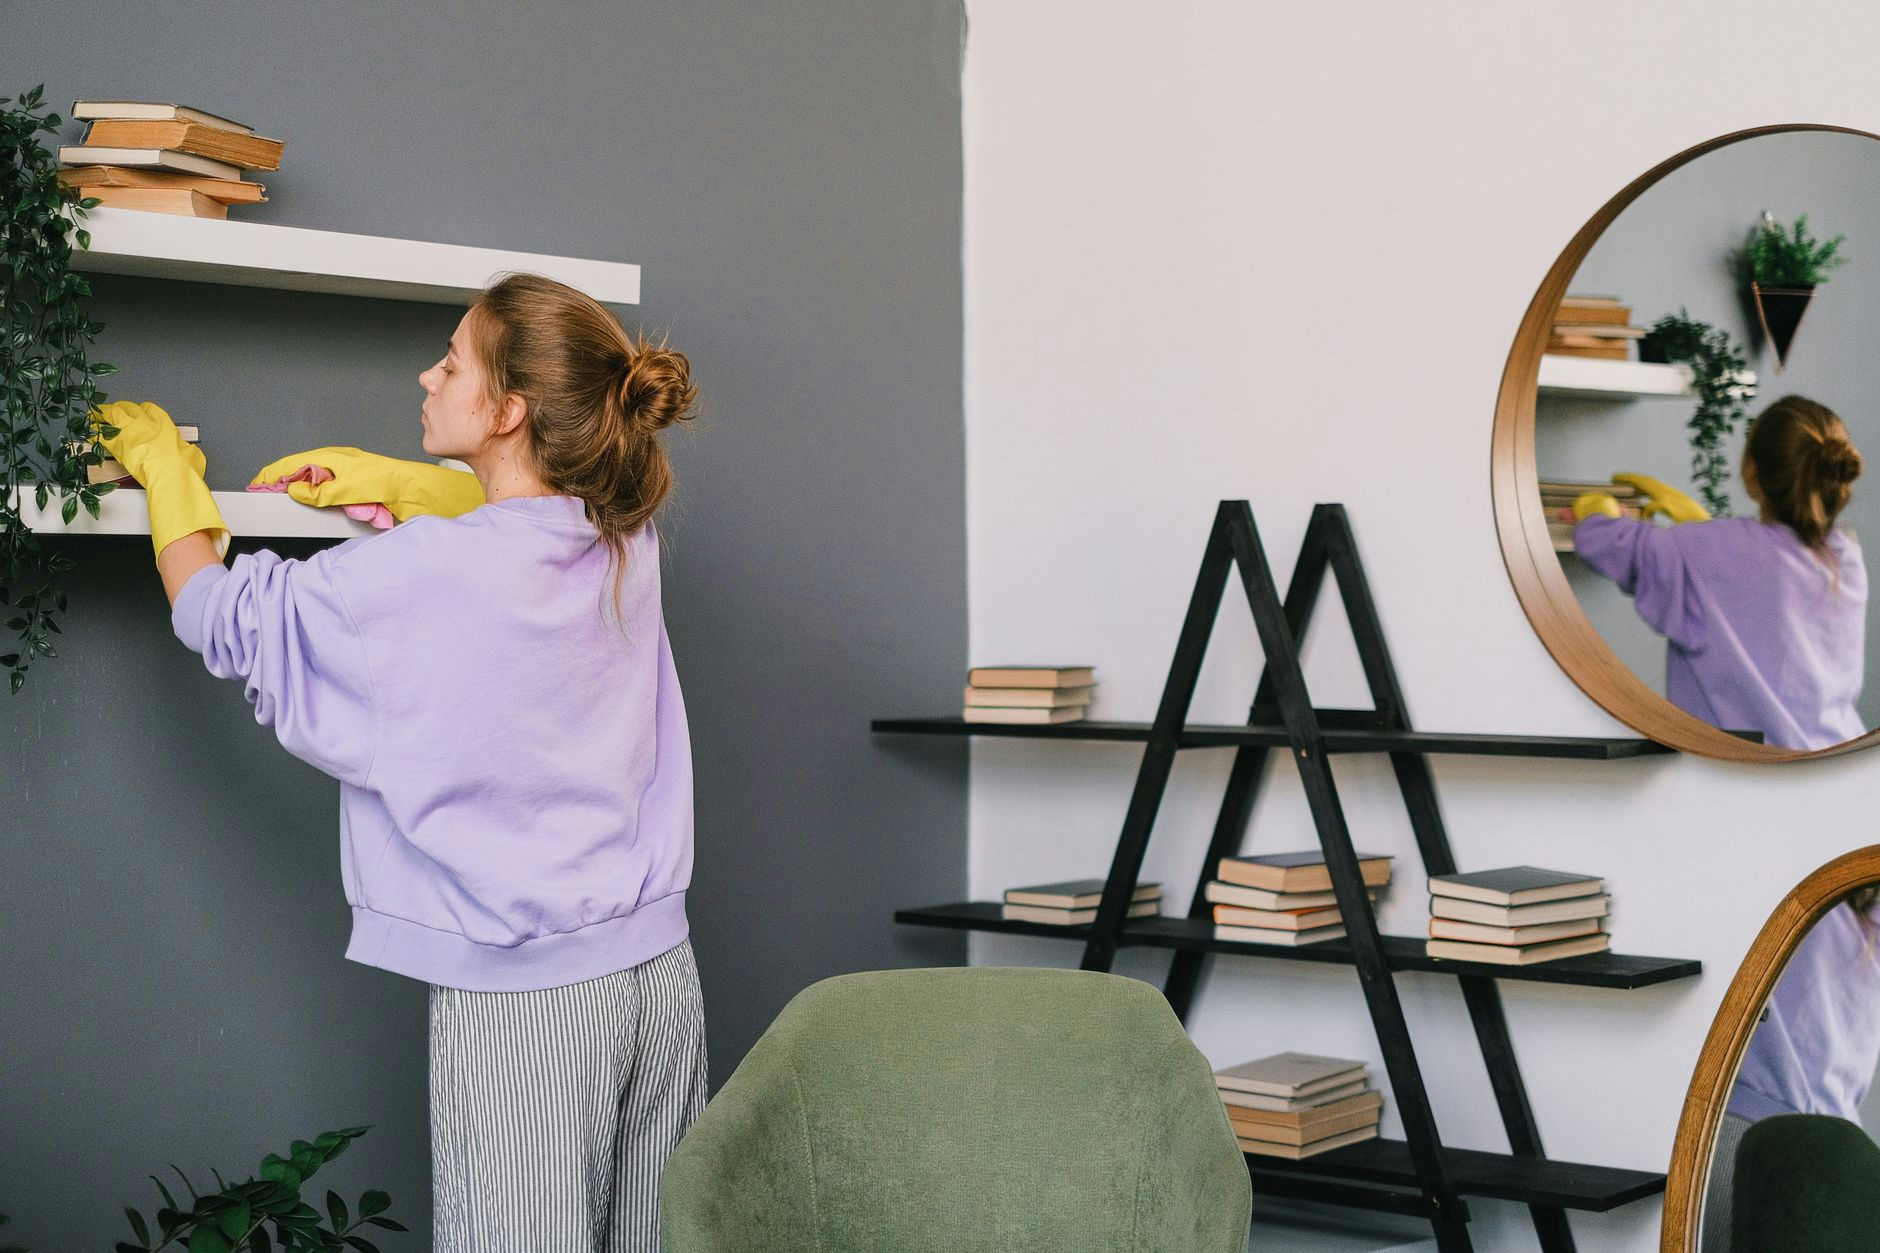
Walk around the house with a laundry basket to collect stray items, empty the bins and clear the surfaces. Then choose two new habits to keep things under control: a 5-minute evening reset and a weekly 15-minute clutter-sorting session to get rid of anything you no longer need.
Keep It Light, Keep It Moving
Small, finished jobs beat one planned clear‑out that you never get around to. After completing this challenge you now have cleaner surfaces, tighter storage and a routine that keeps rooms easy to reset. You'll have a more relaxed feeling home, and a clearer mind as a result.
Before you finish up, save a donate bag by the door for one more week for extra things you notice. Remember to keep labels honest, if they work against you then change them up. The house will stay calmer because you set it up to help you, not fight you.